Search the Community
Showing results for tags 'subaeruginosa'.
-
(PLEASE NOTE THE SPECIES USED WAS STROPHARIA PLEASE DO NOT ATTEMPT THIS WITH ANY KIND OF ILLEGAL MUSHROOMS PICTURES ARE FOR ILLISTRATIVE PURPOSES ONLY) This is my guide to growing woodloving mushrooms outdoors i hope this will be of help to anyone new to the subject and also serve as inspiration for others wanting to try and create thier own outdoor patches in a lovely garden setting this has proved very successful for me in the past and i wanted to share with you all the way i make this happen. this will serve as a complete guide to growing your own woodloving mushrooms outdoors i hope you all find this informative and as i said earlier inspiring...... enjoy throughout this guide i will be showing you some different techniques i have used in the past so this is how it all starts you can begin with either 1: freshly picked specimens or 2: pieces of wood that you know for sure already contain mycelium of the mushrooms you intend on growing so we will begin with number 1: freshly picked specimens for this method i like to take my fresh specimens and rather than using just the stem but i cut the mushroom into 3 pieces so that i end up with the stem but, the stem and the cap get yourself some cardboard and tear the outer layers away so that you are left with just the corigated middle part you can soak this in some boiling water to try and get rid of some of the excess glue however this is not at all necessary place your mushroom pieces inbetween your wet cardboard i like to start small with some small plastic containers allow the mycelium to take over the cardboard as you see in the picture below (the black parts you see are just old rotting pieces of mushroom this has no effect on mycelium growth and has never caused any kind of mould growth for me i have done this numerous times without a problem) the mycelium pictured below is from an unidentified species i discovered last season after this i then take the step to a larger tub (pictured below) firstly i will add more larger pieces of cardboard into the tub and spread my smaller cardboard pieces throughout the layers once these larger cardboard layers are colonised i then get wood chips and basically make a lasagne by pulling the large sheets of cardboard out and placing woodchips between the cardboard layers and again leave this to colonise once this is colonised i make my outdoor beds i do this by simply placing as many layers of cardboard on the ground as possible (this also acts to stop the weeds growing in your garden) take your colonised chips and cardboard and spread it out over the cardboard you placed on the ground your new garden bed is on its way i now take some fresh woodchips and layer them over the top about 1-2 inches is good it should look something like this now if we go back to the start this time we will begin with option number 2: pieces of wood that you know for sure already contain mycelium of the mushrooms you intend on growing pictured below is wood containing mycelium in this case you can simply take your colonised wood and place chunks of it around in your outdoor woodchip patch just like this then ofcourse simply bury it in your woodchip bed and allow the mycelium to spread throughout the bed now this next method is something i devised using the idea of the spawn plug tek this method has worked extremely well for me get yourself some logs drill some holes throughout the logs and place either colonised cardboard, woodchips or even stem buts inside the holes i like to then plug the holes up with some pieces of fresh uncolonised cardboard this should last long enough to allow the mycelium to take over the log from the inside out you can see in the picture below where i have drilled holes in this particular log then take your colonised log and simply bury it in your woodchip beds i like to just bury it halfway like this i then take this log and move it around my garden every year or so within a few months the mycelium from the log will spread like crazy into your woodchip bed this log has been in this particular spot for around 7-8 months as you can see from the pictures below the mycelium has spread outwards from the log quite dramatically so thats basically it a very simple way to create not just outdoor beds for woodlovers but to make a beautiful garden that grows your favorite woodloving mushrooms thankyou all for reading i hope you found this informative and inspiring (AGAIN PLEASE NOTE THE SPECIES USED WAS STROPHARIA PLEASE DO NOT ATTEMPT THIS WITH ANY KIND OF ILLEGAL MUSHROOMS PICTURES ARE FOR ILLISTRATIVE PURPOSES ONLY)
- 18 replies
-
- 15
-

-
- woodlovers
- subs
-
(and 8 more)
Tagged with:
-
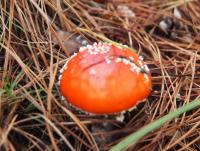
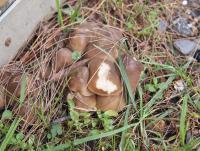
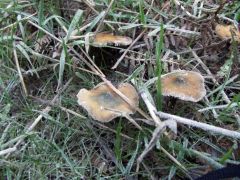
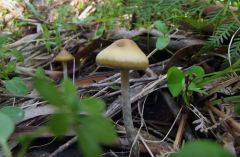
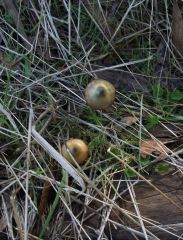
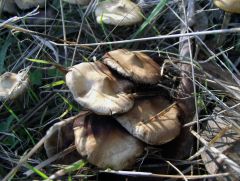
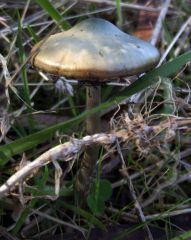
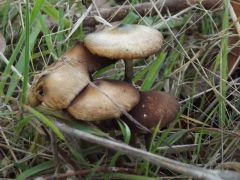
Today I went hunting for the first time. I've done my research but better to be safe than sorry Ultimately, the goal was to find PS Subs. I also encountered other mushrooms on the way. Conditions: 5-10mm rain day before 90% Humidity Minimum Temp: 11 Degrees Celcius I suspected these to be Saffron Milk Caps. When cut, they secreted a bright orange. Found among pine needles. However, from being slightly crushed in my bag they attained some dark greenish blue bruising mostly on the gills. Is this normal? They also have the telltale irregularly spotted stem. Just wanna be safe Slippery Jack? I was going to take these home but I followed a different track back and missed 'em. Really nice spongy gills with slippery brown cap. Psilocybe Subaeruginosa!!!! (Hopefully my reading payed off! To the best of my knowledge they fit the profile. I got too excited and didn't take many pics at the site. Nearby was a suspected Galerina (orange cap and stem), Gymnopus, and another specimen with a brown cap and coke bottle coloured stem. ) Other finds like the deathly beautiful Amanita Muscaria
- 1 reply
-
- subaeruginosa
- psilocybe subaeruginosa
- (and 5 more)
-
Any body spot anything in the suburbs or surrounding towns? Anything in the southeast yet?
-
From the album: Mushrooms
-
- subaerigerosa
- psilocybe subaeruginosa
-
(and 3 more)
Tagged with:
